

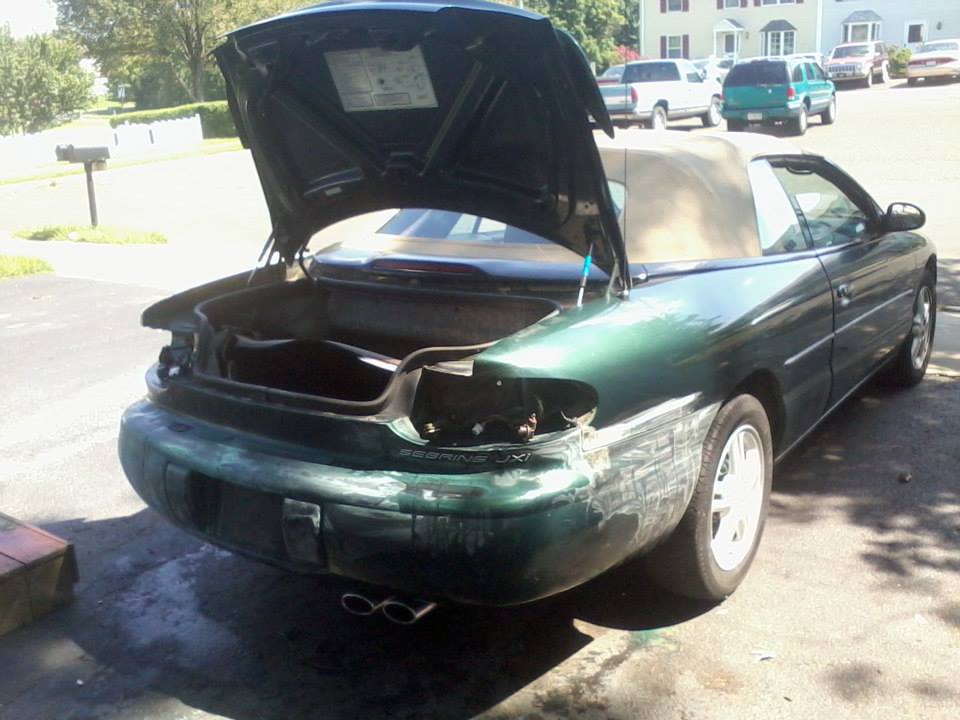
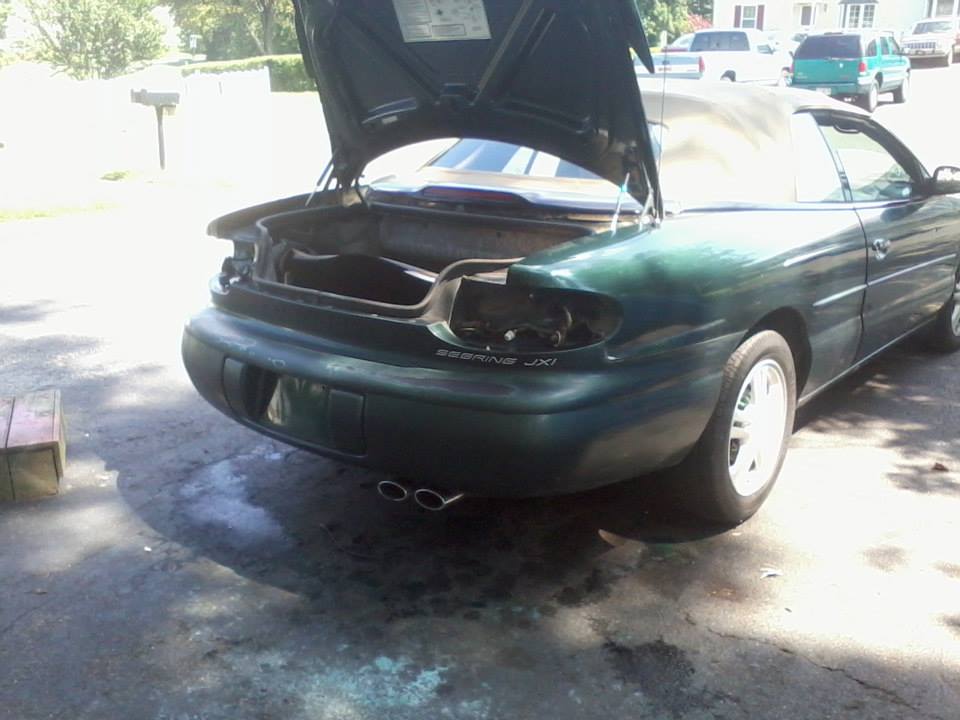
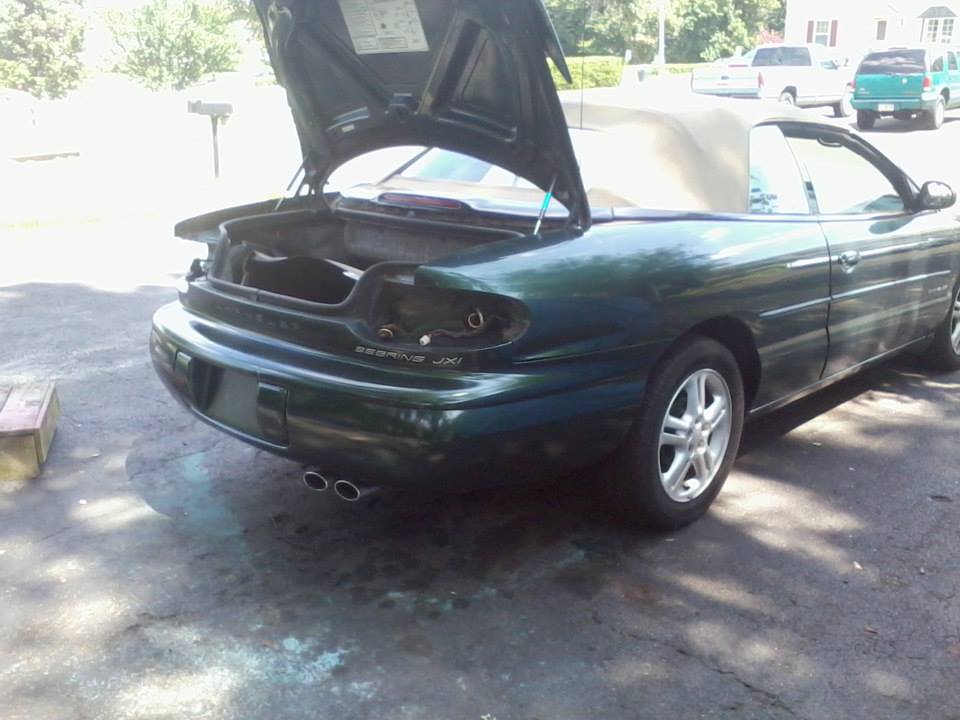
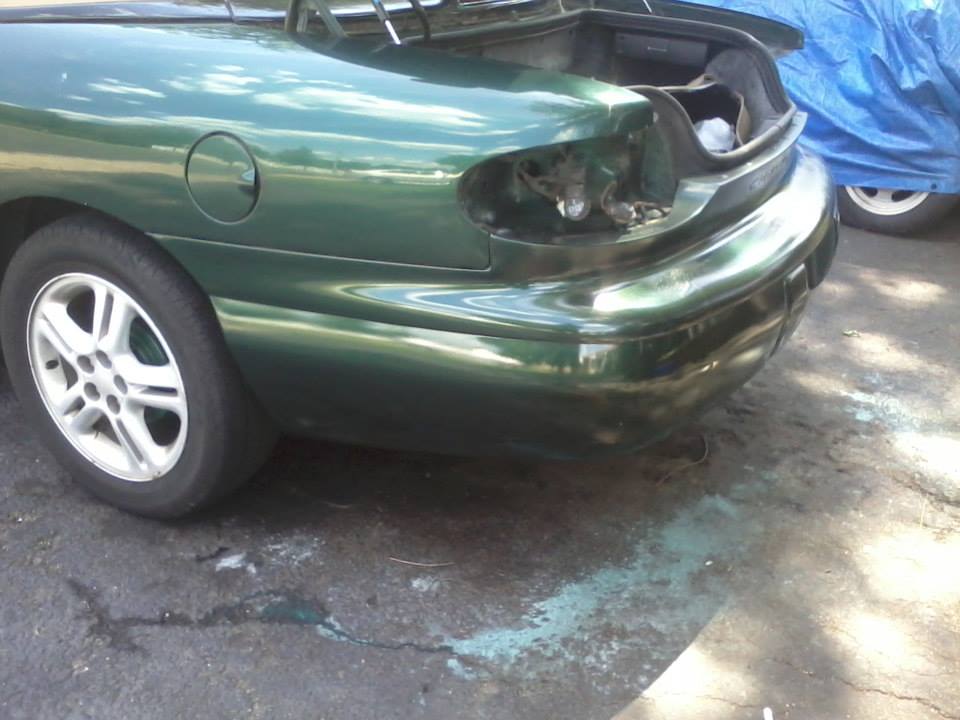
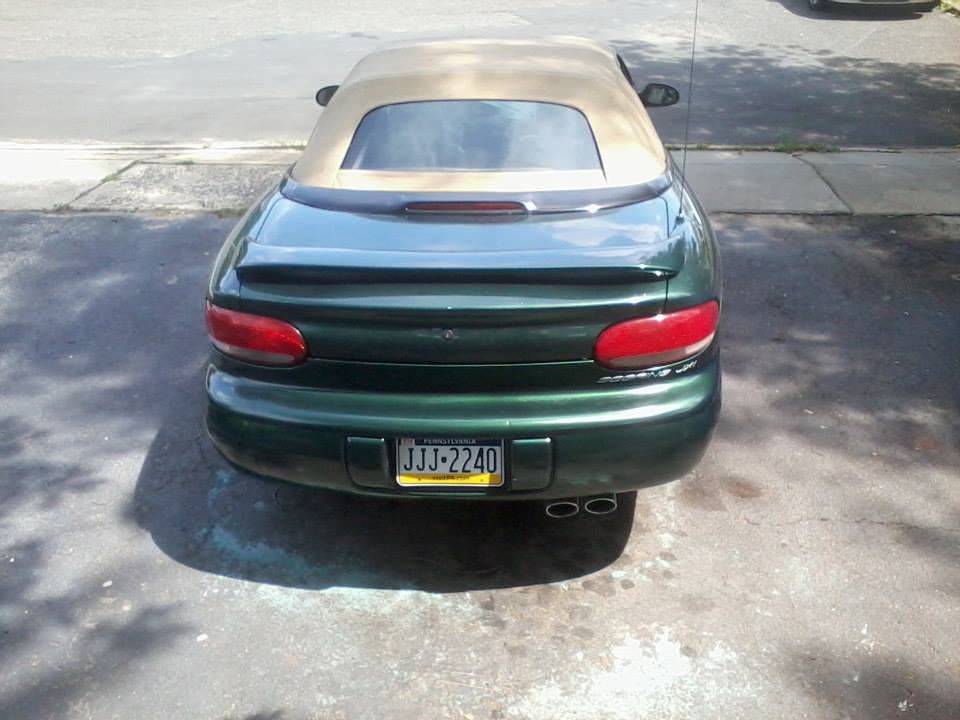
Body shop guys may turn their nose at what I’m about to show you, but if the car cost $750, and it’s a high-mileage daily driver… why would I spend four grand on it in a body shop? This article is for those who want to refresh a beater’s bumper, and make an otherwise decent-looking car look good from more angles.
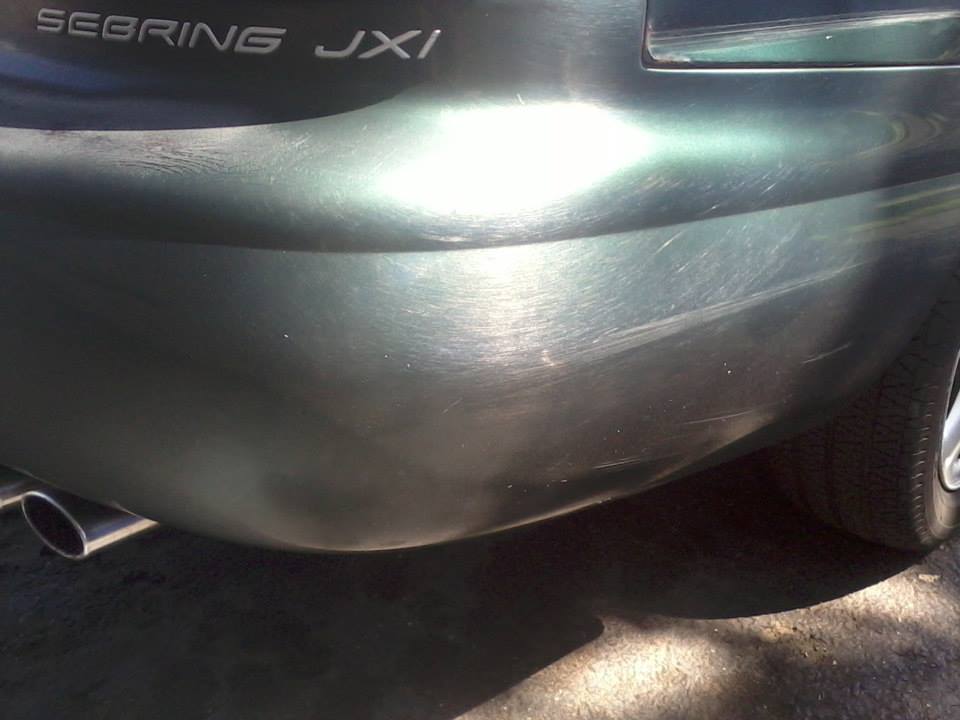
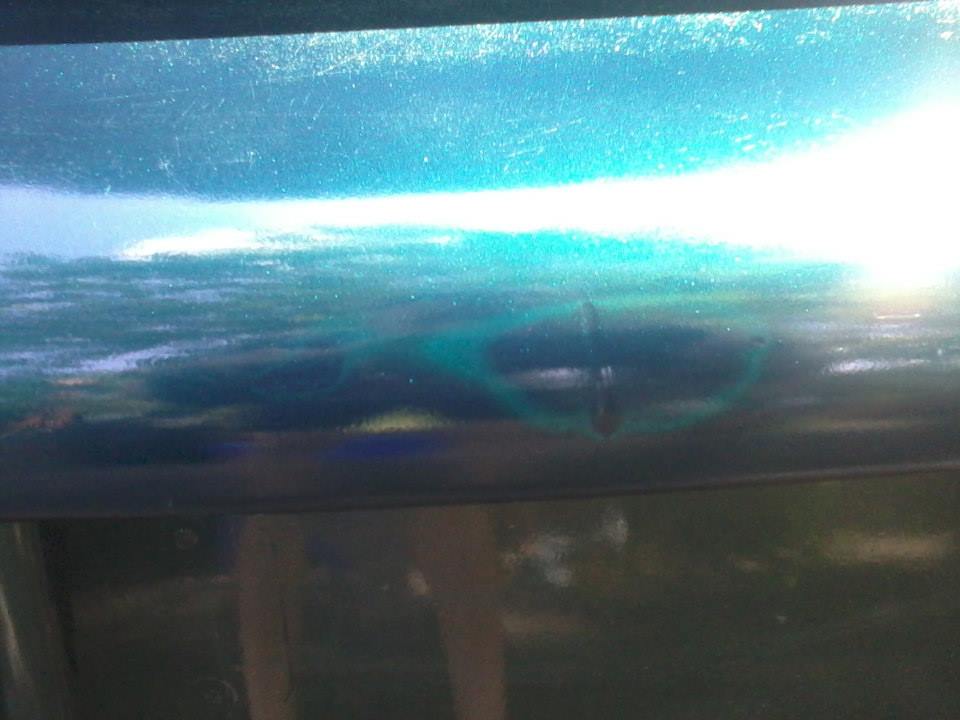
The bumper skin’s top has weathered away, it feels like a cat’s tongue. It’ll need to be wet sanded and shot with a sandable primer to flatten the surface and make it ready for paint. Read how to fix it after the jump!

The rest of the bumper skin’s finish is also worn, but not as bad. That can be wet sanded with 600, maybe a slightly coarser grade, then re-shot.
PREPARATION:
The bumper is wet sanded, worst areas primed with a sandable primer. Sand the primer again lightly and reapply until the surface is flat enough for paint. Smoother areas that still have clearcoat (when you sand you won’t see color coming off, just white) just get scuffed for paint adhesion though you can prime the entire bumper if desired.
After sanding and priming, clean the bumper thoroughly and mask for overspray. I prefer to use Isopropyl Alcohol to remove any surface oils and residue, though products are available specifically for pre-painting surface prep. Finally, wipe lightly with a tack cloth.
PAINTING:
Be sure you are in a well-lit environment with good ventilation, even then – wear a mask and eye protection! DO NOT paint in direct sunlight or on a hot surface. The surface must be cool to the touch. If painting outdoors (like me), only do so on days with a 5 MPH breeze or less unless you have a structure that can act as an effective wind block.
I didn’t have a whole lot of perfectly-matching DupliColor, though I had a similar green of the same brand in abundance. This gave me the opportunity to use that otherwise-unusable paint. The first coats were done in that non-matching green. First coat was thin and sparse. The following coats built up the finish, focusing more on coverage than a smooth gloss finish… that’s what the clearcoat’s for.
Once I exhausted the wrong green, it was time to use the right green paint, the stuff that matched and boy did it match. The coats were more robust but I wasn’t trying to saturate with each pass, again that’s too risky, and the clearcoat’s job.
Now for the clearcoat. Unlike shooting paint for color, now the objective is all about the finish. I didn’t want to have to wet sand and compound, so strategy was very important.
The nozzle on a rattle can cannot cover large areas quickly, so the larger the surface is, the more you have to paint as if you were a human inkjet printer… starting from one side and very methodically and carefully overlapping sweeps with as few pauses as possible from beginning to end of each coat.
Overspray can also be a problem with clearcoat, reducing the smoothness of its gloss. Try to keep the nozzle angled in the direction you are going, not toward where you have already shot.
This bumper got about 4 coats of paint (2 non-matching green, 2 matching), and 3 layers of clearcoat.
…and this was the result.
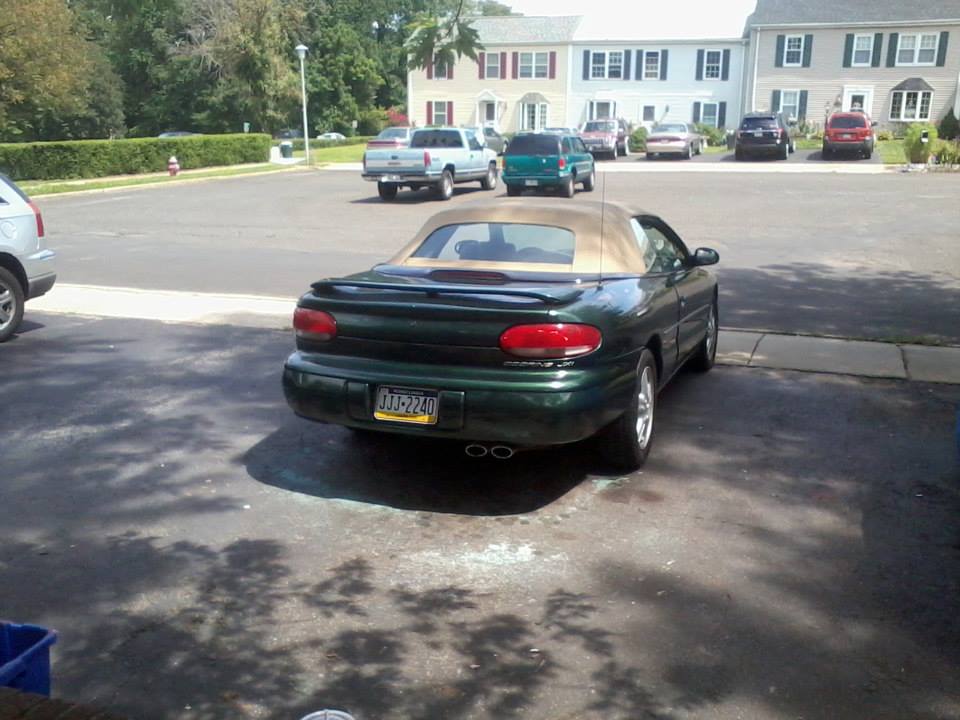
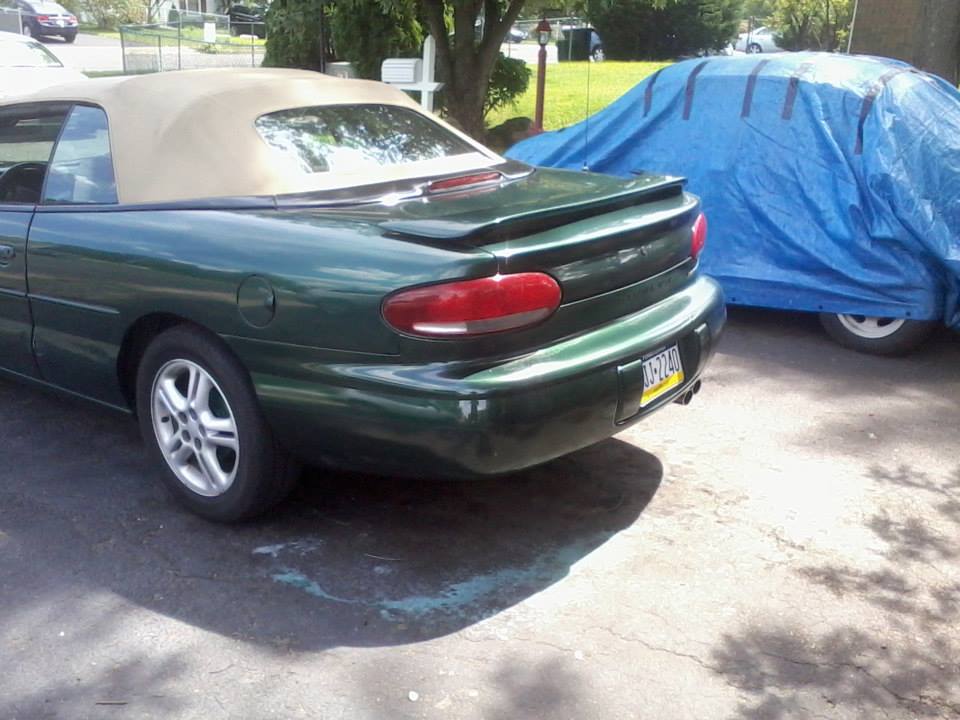
I didn’t go crazy with making the bumper perfect, it’s a $750 car with 250,000 miles, but the car looked a hell of a lot better for only a few bucks and a couple hours.
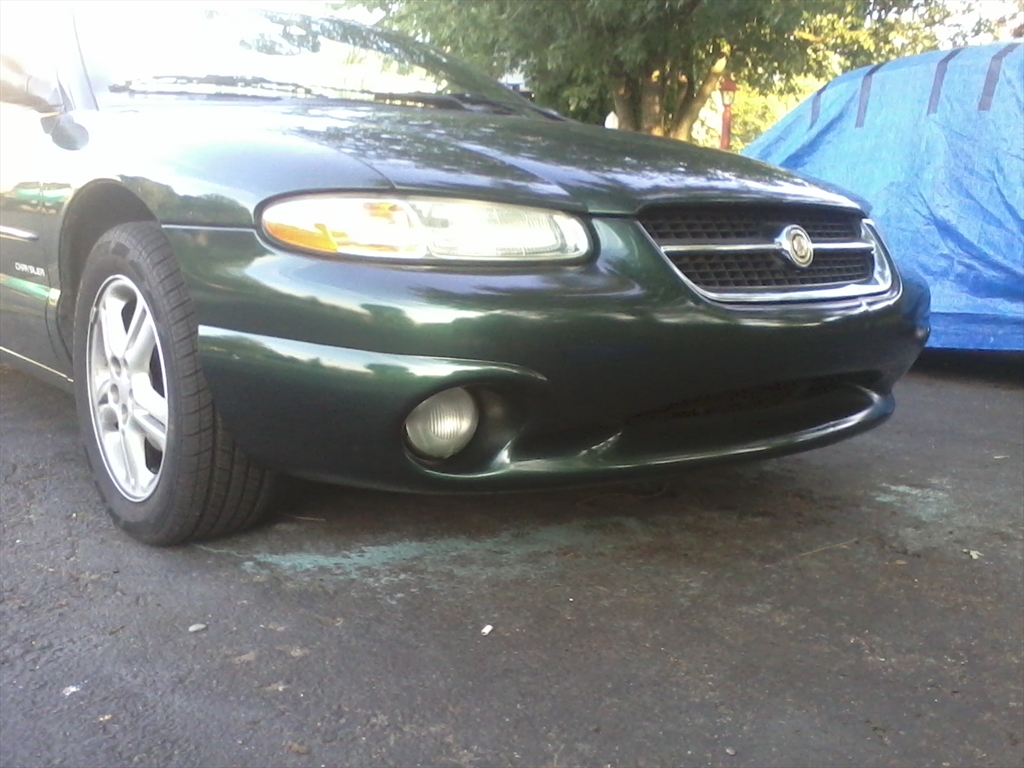
The front bumper doesn’t look too shabby, either. Anyway I hope this advice helps someone out there, and if you’d like to add something or critique, please comment.